This is the first part of a series about smart homes with Home Assistant. Here's the foundation: hardware, installation method, and initial setup. Decisions made at this level are the most expensive to change later, so it makes sense to spend an extra hour on it.
Four Ways to Install Home Assistant
This is the very first fork in the road, and it's where people most often make mistakes. There are four options, and they are not equivalent.
| Option | What it is | Add-ons | Who it's for |
|---|---|---|---|
| Home Assistant OS (HAOS) | Ready-made operating system: OS itself + HA + add-on store | Yes | Most users. Recommended option |
| Supervised | HA on top of your Debian | Yes | Those who need their own Linux alongside |
| Container | Docker container | No | Those who already have a home server with Docker |
| Core | Python application in venv | No | Developers. Not for everyday use |
Practical advice: choose HAOS unless you have a compelling reason to do otherwise. Half of the instructions online assume the presence of an Add-on Store, which is only available in HAOS and Supervised. Without it, you'll have to manually set up an MQTT broker, SSH terminal, cloud backups, and a dozen other things.
We keep our system on HAOS – and the main reason is not convenience, but that updates arrive as a single package and do not break the environment.
What Hardware to Choose
Home Assistant is not demanding on the processor, but it is very demanding on the reliability of the storage drive. It constantly writes state history to the database – tens of thousands of entries per day.
| Option | Pros | Cons |
|---|---|---|
| Mini-PC (x86) used office, N100, thin client | Fast, SSD/NVMe, headroom for add-ons and databases, price of a used one is comparable to a Raspberry with accessories | Larger, consumes 6–15 W |
| Raspberry Pi 5 + NVMe | Compact, 3–7 W, quiet | Requires an NVMe adapter board, total cost is not cheaper than a mini-PC |
| Raspberry Pi + microSD | Cheap | Do not do this. The card dies from constant writing – a matter of months |
| Virtual machine on NAS/server | Uses existing hardware | HA becomes dependent on NAS: if you restart the storage, the lights won't turn on |
Our choice is a mini-PC with an SSD. A smart home should power on by itself after a power outage, without your intervention, and work for years. A used office nettop with a 128 GB SSD fulfills this task with plenty of headroom.
Minimum reasonable configuration: 2 cores, 4 GB RAM, 64 GB SSD. Comfortable: 4 cores, 8 GB RAM, 128–256 GB SSD – with headroom for databases, video analytics, and local voice engines.
Don't Forget About Uninterruptible Power Supply
A smart home server that turns off with the lights is useless precisely when it's needed most. A small UPS or power from the same battery as the router is a mandatory element, not an option. The router and server must be on the same backup line: HA can do almost nothing without a network.
HAOS Installation
Steps for a mini-PC. You'll need a USB flash drive and any second computer.
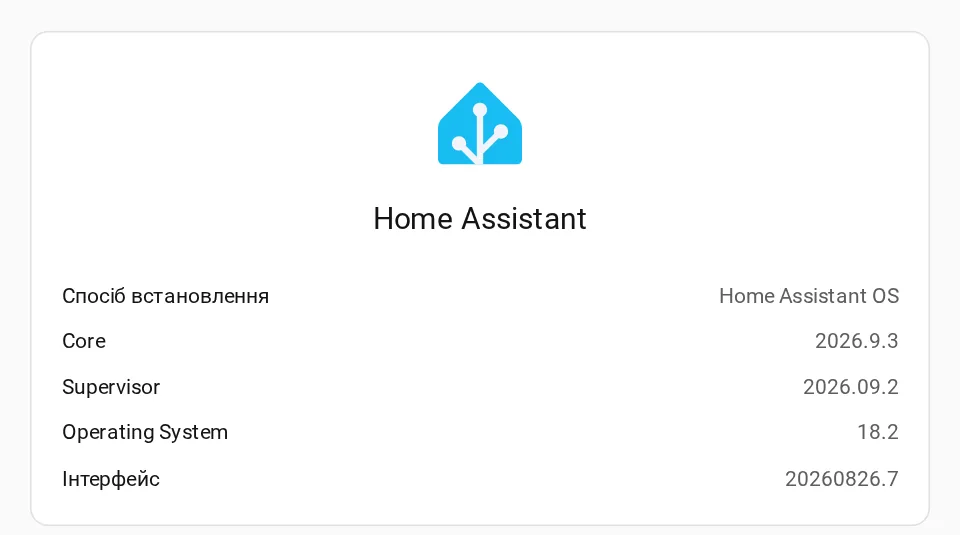
- Download the Home Assistant OS image for x86-64 from the official website (
.img.xzformat file). - Write it to the target machine's internal drive. The easiest way is to boot from a USB flash drive with Balena Etcher or write the image using a disk imaging utility. Important: HAOS is installed instead of the existing system, not alongside it – the drive will be wiped.
- In BIOS, enable automatic power-on after power restoration (Restore on AC Power Loss → Power On). Without this, the server will not start after a power outage.
- Disable Secure Boot in BIOS if the system does not start.
- Connect an Ethernet cable. Wi-Fi for a server is a bad idea: the entire system relies on the network.
- Turn on the machine. The first boot takes 5–20 minutes: the system deploys and pulls components.
First Launch
Once the installation is complete, the interface will be available at http://homeassistant.local:8123. If the name doesn't resolve (which can happen in networks with mDNS filtering) – check the assigned address in the DHCP client list on your router and access it via IP: http://<address>:8123.
Next, the wizard will guide you through creating an owner and basic settings. Three things to do carefully:
- Location. The actual coordinates of your home – sunrise and sunset are calculated from them, and half of your lighting scenarios depend on this.
- Time zone and units. Metric, Europe/Kyiv.
- Username. The owner's account cannot be deleted later.
At the "Discovered devices" step, the system will suggest adding what it found on the network. Don't rush: add one or two integrations for testing, and the rest – deliberately, in the next part.
Fix the Server's Network Address
This is the step that people skip, and then spend half a day figuring out why "everything broke." The server gets its address from the router via DHCP, and it can change after a reboot. Along with it, integrations that access HA by IP, port forwarding, and bookmarks will stop working.
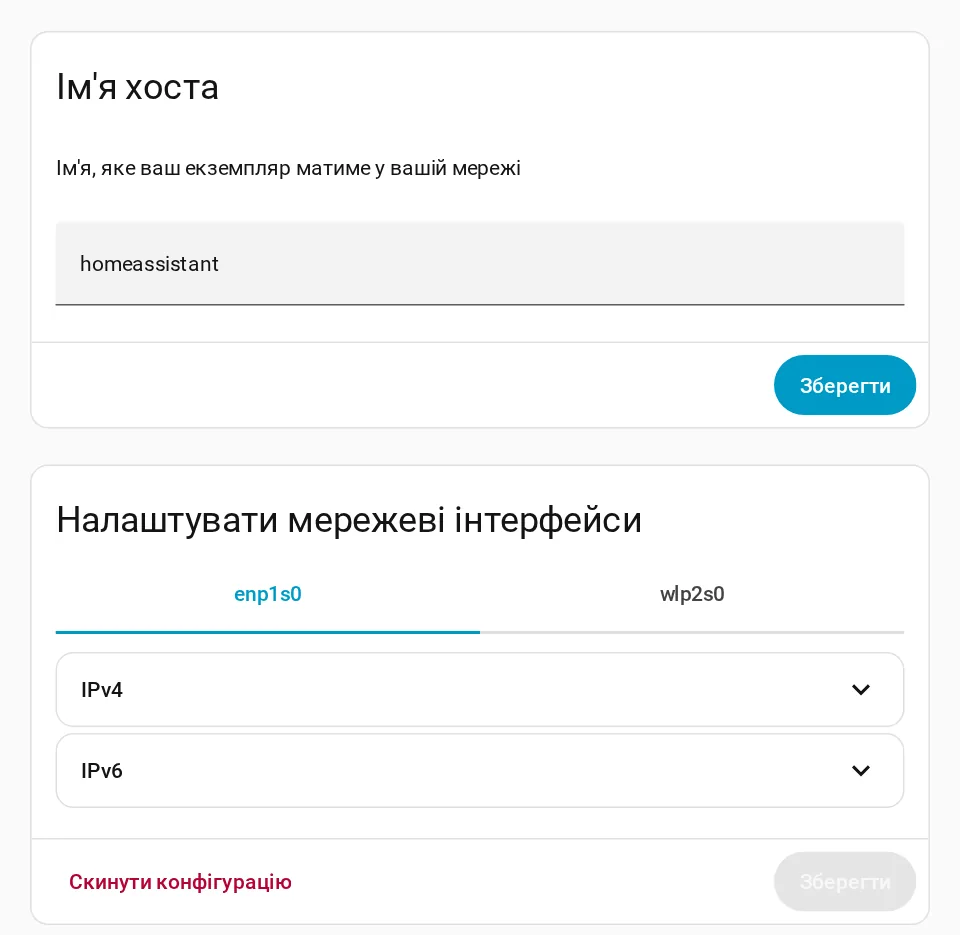
The solution is to bind the address to the server's MAC address on the router (DHCP reservation / static lease). This way, the address remains constant, but the router continues to assign it, meaning network settings reside in one place.
On MikroTik, this is done in IP → DHCP Server → Leases: find the server's lease and click Make Static. It's also worth filling in the Comment field with Latin characters without spaces – later, when we connect presence detection via the router, this comment will become the entity name in Home Assistant.
Add-ons you'll need right away
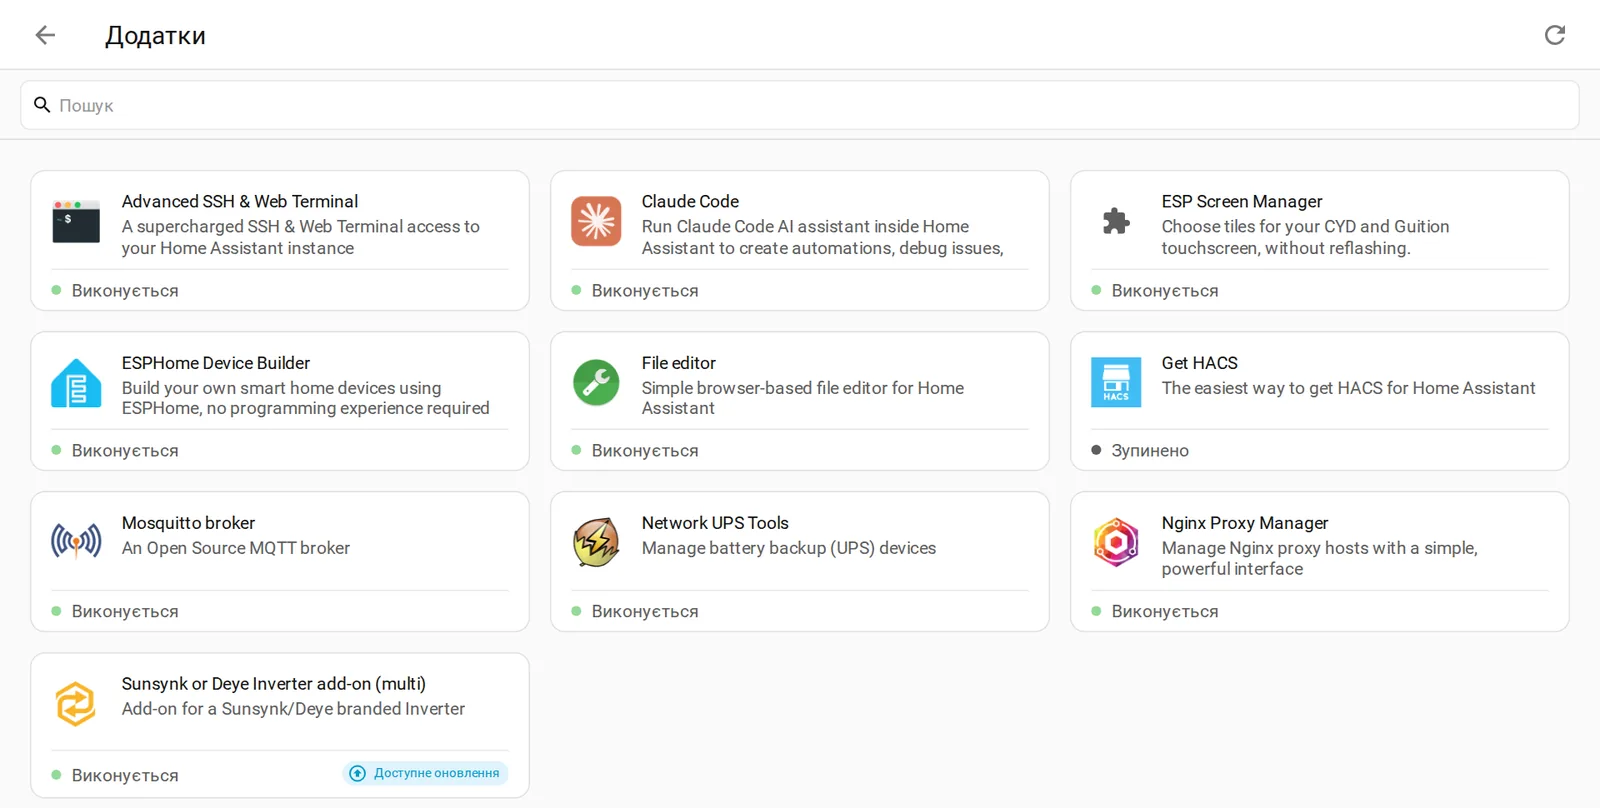
Add-on Store: Settings → Add-ons → Add-on Store. Minimum set to start:
| Add-on | Purpose |
|---|---|
| Advanced SSH & Web Terminal | Access to the file system and console. Without it, you are limited to the interface. |
| File editor or Studio Code Server | Editing YAML configs directly in the browser. Studio Code is more convenient: it highlights errors. |
| Samba share | Access to the configuration folder from a computer as a network share. |
| Mosquitto broker | MQTT broker. Will be needed in the next part – for Zigbee, ESP devices, and the inverter. |
Useful tip: in the web terminal, copying works with Shift held down — regular mouse selection is intercepted by the terminal itself.
Backups — from day one, not from the first disaster
Home Assistant can perform full backups natively: Settings → System → Backups. A backup contains the configuration, database, add-ons, and their settings — from it, the system can be deployed on new hardware in 20 minutes.
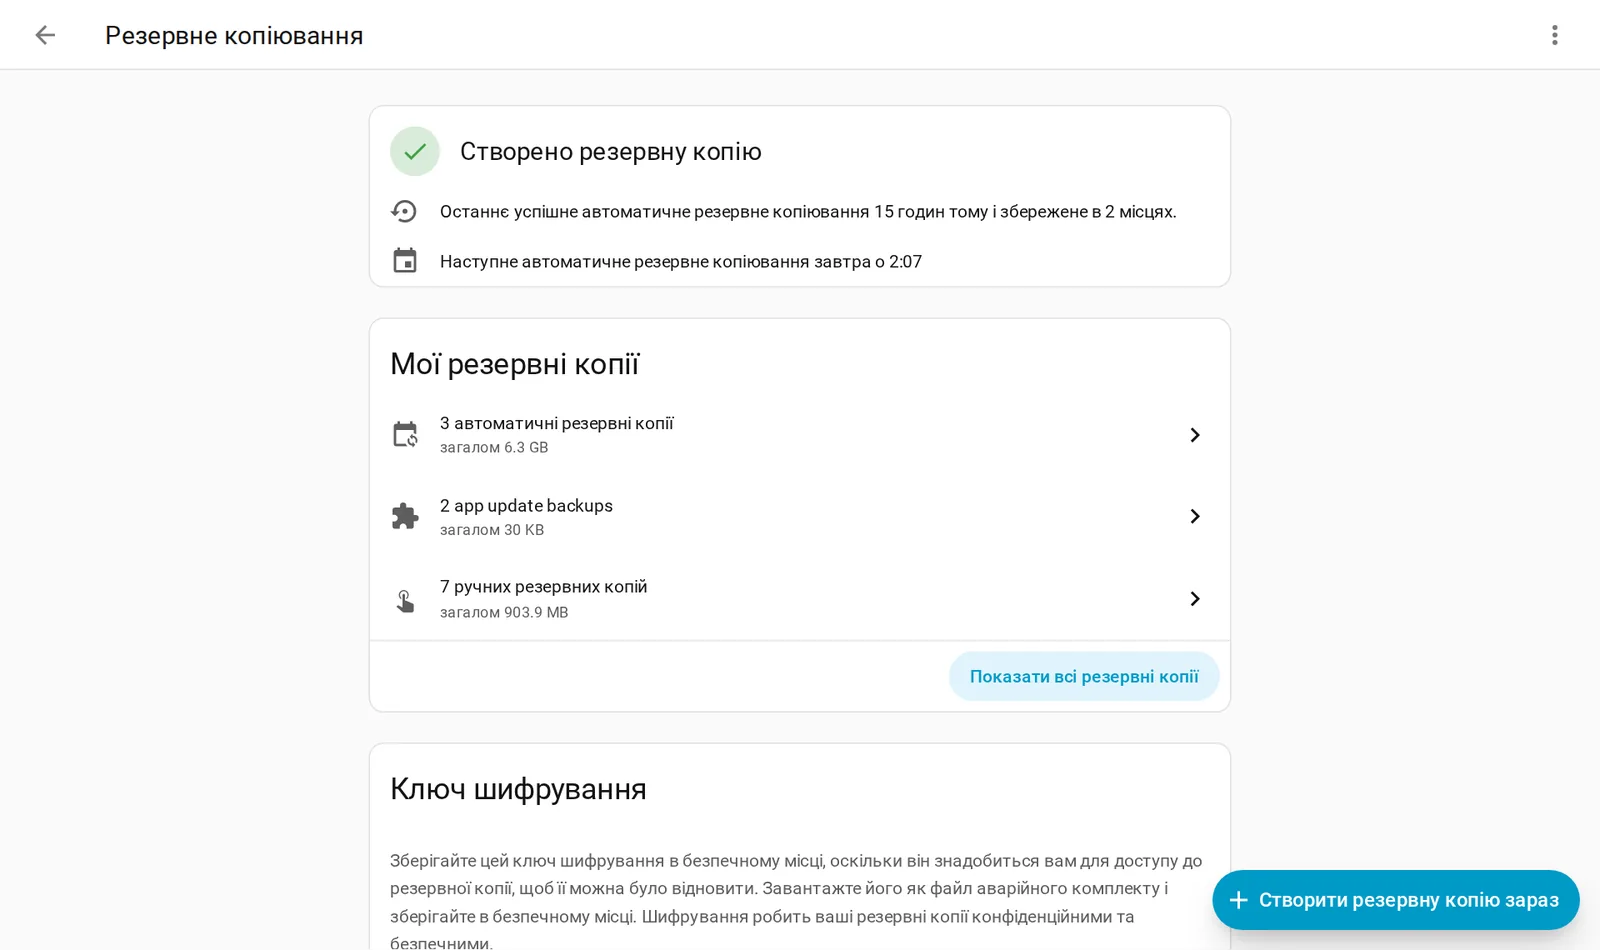
What to configure immediately:
- Automatic scheduling — once a day or at least once a week.
- Off-server storage. A backup that only resides on a failed disk is not a backup. A network share on a NAS, an add-on for cloud upload, or simple manual copying via Samba will suffice.
- Manual backup before each major change. This is a habit worth developing immediately.
Two things better not to fight with
Honestly about the limitations almost everyone encounters:
- Second local disk in HAOS. A logical desire is to add an old HDD for media and long-term history. In practice, HAOS does not have a proper interface for a secondary local disk, and manual mounting via SSH does not survive every update. If a large volume is needed, it's simpler to connect a network share. We deliberately postponed this task.
- Wi-Fi for the server. It works, but every radio failure becomes a failure for the entire home. Use a cable.
Part One Checklist
- Hardware with SSD chosen, not microSD
- Home Assistant OS installed, interface accessible on port 8123
- Auto-start after power recovery enabled in BIOS
- Server connected via cable, address reserved on the router
- Location, timezone, and units of measurement filled in
- SSH terminal and config editor installed
- Automatic backups configured and verified to be stored off-server
- Server and router powered by a backup source
With this, the foundation is ready. The next part will cover working with configuration without risking system breakage, MQTT broker, presence detection via the router, and connecting a hybrid inverter with tariff zone accounting.
If you don't want to figure it out yourself — we design and install such systems turnkey, including the electrical panel, cabling, and configured scenarios.